How to Create a Custom Animation on an OLED Display (Arduino)
Introduction
OLED displays are a fantastic way to add dynamic visuals to your Arduino projects. In this guide, we’ll learn how to display a custom animation on an SSD1306 OLED display using an Arduino Uno. We’ll take a GIF, convert it into frames, and display the frames in sequence to create an animation.
What You’ll Need
Hardware
- Arduino Uno (or any compatible board)
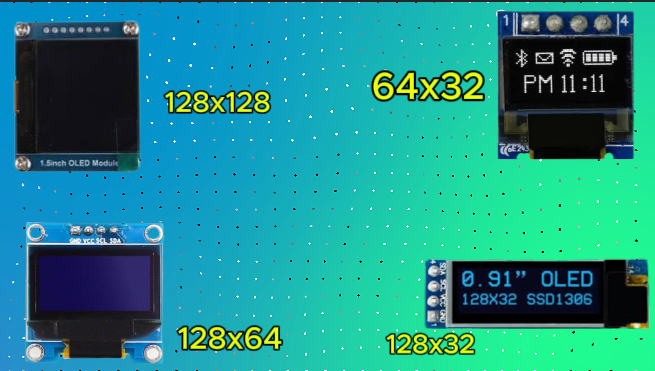
- 0.96" SSD1306 OLED Display (I2C)
- Jumper Wires
Software & Online Tools
- Download a GIF → Giphy
- Resize GIF → RedKetchup GIF Resizer
- Convert GIF to Frames → GIFGIFs
- Convert Frames to C++ Code → Image2CPP
Step-by-Step Guide
Step 1: Download a GIF
Choose a simple black-and-white GIF from Giphy. Since OLED displays are monochrome, a high-contrast GIF works best.
Step 2: Resize the GIF
OLED screens are small (typically 128x64 pixels), so we need to resize the GIF:
- Go to RedKetchup GIF Resizer.
- Set the width to 128 px (or 64 px for smaller animations).
- Click Resize GIF and download the resized GIF.
Step 3: Convert GIF to Frames
Split the GIF into individual frames:
- Go to GIFGIFs Splitter.
- Upload the resized GIF.
- Click Split GIF and download all frames as separate PNG images.
Step 4: Convert Frames to C++ Code
Convert each frame into bitmap data for the OLED display:
- Go to Image2CPP.
- Upload each frame one at a time.
- Use the following settings:
- Output Format: Arduino Code
- Monochrome: Yes
- Invert Colors: Yes (if needed)
- Click Generate Code and copy the bitmap array.
- Repeat for all frames.
Step 5: Upload the Code to Arduino
Paste the bitmap arrays into the following Arduino code:
#include <Wire.h>
#include <Adafruit_GFX.h>
#include <Adafruit_SSD1306.h>

#define SCREEN_WIDTH 128
#define SCREEN_HEIGHT 64
#define OLED_RESET    -1
Adafruit_SSD1306 display(SCREEN_WIDTH, SCREEN_HEIGHT, &Wire, OLED_RESET);

// Add Your Frame Bitmaps Here
const unsigned char frame1[] PROGMEM = {
  // Paste Image2CPP data for frame1 here
};
const unsigned char frame2[] PROGMEM = {
  // Paste Image2CPP data for frame2 here
};
const unsigned char frame3[] PROGMEM = {
  // Paste Image2CPP data for frame3 here
};

// Store Frames in an Array
const unsigned char* frames[] = {frame1, frame2, frame3};
const int totalFrames = sizeof(frames) / sizeof(frames[0]);

void setup() {
  display.begin(SSD1306_SWITCHCAPVCC, 0x3C);
  display.clearDisplay();
  display.setTextSize(1);      // Set text size
  display.setTextColor(WHITE); // Set text color
}

void loop() {
  for (int i = 0; i < totalFrames; i++) {
    display.clearDisplay();

    // Display Animation Frame
    display.drawBitmap(0, 0, frames[i], 128, 48, WHITE);  // Adjust size if needed

    // Display Caption Below Animation
    display.setCursor(20, 52);  // Position text at the bottom
    display.print("Custom Animation");  // Change this caption as needed

    display.display();
    delay(100);  // Adjust speed of animation
  }
}
Final Step: Upload & Enjoy!
Upload the code to your Arduino. Your custom GIF animation will now play on the OLED display! 🎬
Tips for Customization
- Change Caption: Modify
display.print("Custom Animation");to display your desired text. - Adjust Position: Use
display.setCursor(x, y);to move the text or animation. - Control Animation Speed: Adjust the
delay(100);value to speed up or slow down the animation.
Conclusion
Congratulations! You’ve successfully created a custom OLED animation using an Arduino. This technique opens up endless possibilities for adding dynamic visuals to your projects. If you have any questions or run into issues, feel free to reach out. Happy tinkering! 😃